It took me quite a while to get my head around webpack and why I would want to use it. I found it difficult to grok and navigate around the documentation. Examples I could find either got complicated very quickly or took extensive steps to hide the complexity behind an abstraction. My general approach to learning it involved beating my head against it repeatedly in frustration until I finally got part of it working and then repeating the process for the next piece.
I’d like to save you some of that frustration. I’m going to do a series of posts where I will focus on a single aspect of a webpack build configuration. I’ll keep each example as simple as possible and provide a Git repository where you can play around with it yourself.
For this first post, we’re going to focus on working with legacy scripts that haven’t already been integrated into any sort of module system: the kind of scripts that just introduce functions into the global namespace, that old IE 9 hack you dumped in ie9hacks.js, etc.
Basically, if you haven’t been working with any sort of AMD / CommonJS modular approach up until now, this post will help you get started with webpack, and then you can follow along in later posts to really start modularizing your work.
If you don’t already have node.js / npm installed, you’re going to need to do that, first. Also, if you aren’t already using a package.json in your project, you’re going to need to create one.
Now it’s time to install webpack:
npm install webpack --save-devFor this sample project, we’ll be dealing with bundling a single javascript “legacy” file:
includes/utility.js
    function randomFunction() {
      return 'randomValue';
    }
Our goal here is to be able to change out the <script /> tag that is referencing includes/utility.js with one that references our webpack.bundle while keeping our legacy code working.
The first step is to create a webpack.config.js file. This is a standard javascript file, and you’re free to get as crazy as you want in here. This is why the examples you’ll find out there get so complicated… because they can. Let’s keep ours as simple as possible. Here it is in its entirety:
webpack.config.js
    var path = require('path');

    module.exports = {
      entry: {
        main: [
          './includes/utility.js'
        ]
      },
      output: {
        path: path.join(__dirname, 'dist'),
        filename: '[name].bundle.js'
      },
      module: {
        loaders: [{
          test: /\.js$/,
          include: path.join(__dirname, 'includes'),
          loader: 'script'
        }]
      }
    };
Now let’s break it down. webpack is all about analyzing your asset dependencies and packaging them up based on your specified configuration. You tell webpack where to start processing by declaring entries. Each entry will result in the creation of a single javascript file representing that bundle. (There are options that will result in generating other related assets as well, but we won’t get into that in this post).
In this example, we’ve declared a single entry (main):
    entry: {
        main: [
          './includes/utility.js'
        ]
      }
Each entry can contain a reference to an array of one or more javascript dependencies that will all be bundled up together (along with their dependencies). If it’s only a single file you need to reference for your entry, you can use a string argument instead of an array (but it’s probably worth keeping it in an array for when you change your mind).
The main bundle will include the code from includes/utility.js as well as the necessary webpack supporting code to make module dependencies work.
We need to let webpack know what to do with the generated output:
    output: {
        path: path.join(__dirname, 'dist'),
        filename: '[name].bundle.js'
      }
output.path is a reference to the absolute path where webpack will drop the generated files. output.filename gives webpack a template for generating bundle names. [name] tells it to use the entry name (main) for the generated file name. There are other options that can be specified to provide unique hash values as well.
If you weren’t dealing with legacy JavaScript, you could stop there. If it was just CommonJS modules you were pulling into your entries, you could call it a day. However, you need to pull in a JavaScript file and have it executed like normal when the bundle is referenced, so it’s time to introduce loaders:
    module: {
      loaders: [{
        test: /\.js$/,
        include: path.join(__dirname, 'includes'),
        loader: 'script'
      }]
    }
Loaders are matched up with file types and paths. They can be chained together and form the pipeline that assets are run through before being spit out into the output.path.
For our loader, we are testing for all files that end in “.js”. More specifically, we are also indicating which folders this loader applies to via the include property. The loader property indicates which loader will be used to process the files that are matched.
We’re using script-loader for this example. This loader ensures that the script is executed in the global context when the bundle is loaded (just like the <script /> tag would normally do). While the loader is official named script-loader, the loader property allows you to optionally drop -loader from the name, but you’ll see it both ways in examples, so it’s good to be aware of it.
And that’s the extent of the configuration! We can now run webpack:
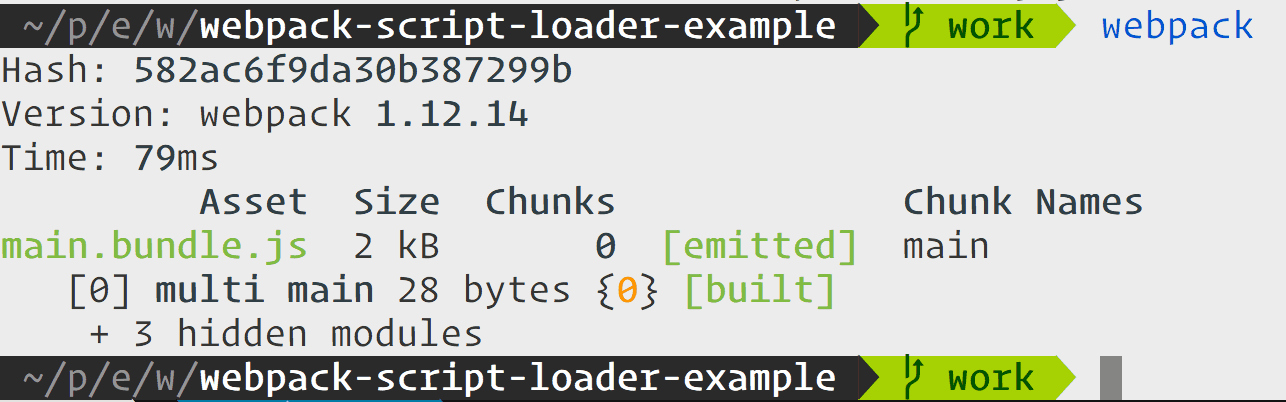
You can take a look at the generated file in dist/main.bundle.js. That’s all we had to do! You can expand this out and bundle a whole slew of your legacy files into a single bundle, or you can create multiple bundles (but don’t include more than one on a page for now… we have to extract some common code in another post before you do that).
Now would be a good time for you to pull down the sample project and play around with it a bit. I’ve included tests that demonstrate that the function is in the global namespace. You can see the test results if you run npm test. If you run webpack —help, you can see some of the options you can pass it. A lot of those options are just an alternative to what you can specify in the webpack.config.js file, but there are a number of options that involve displaying the output in a more comprehensive manner. Try them out! You should also try and run webpack -p and take a look at the output. We’ll get into all of that at a later time, but this is a great place to start!